How to Make an Old House Feel New Again
November 1, 2024
Tips for Matching Wall Colors With Your Home Furniture
January 2, 2025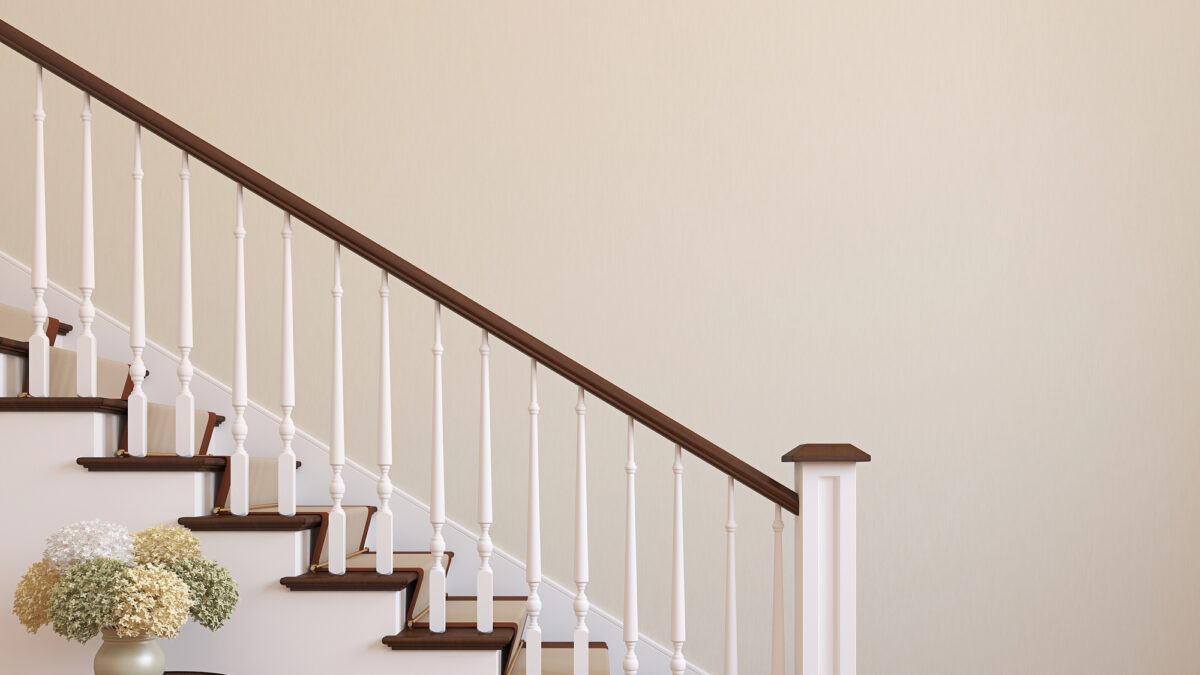
Painting your staircase can seem like a challenging project, but don’t worry—it’s easier than you think! Not only can this DIY venture freshen up your home in an affordable way, but it also gives you a great excuse to stay inside when the New Jersey weather decides to be unpredictable. Here in Madison, NJ, where we often deal with chilly winters and damp conditions, why not cozy up and take on a fun project that’ll leave your home looking even better for the upcoming holiday season? Let’s jump into how you can tackle painting your staircase like a pro.
Step 1: Say Goodbye to Carpet—Without the Tears
If your staircase is currently covered in carpet, it’s time for that old fluff to go. Rolling up your sleeves and taking out carpet can be a satisfying job—like ripping off a bandage, but much bigger (and better). Before you dive in, though, be sure to peel back a corner to check the condition of the wood underneath. You’ll want to make sure it’s worth painting and doesn’t have any unexpected surprises that might need repair.
Using a utility knife, make a small cut in the carpet at the top of the stairs, and start pulling. Once you’ve gotten the carpet off, there’s the small matter of removing tack strips, staples, and padding. Yes, it’s a bit of a tedious process, but every staple you pry loose is one step closer to the gorgeous staircase you deserve.
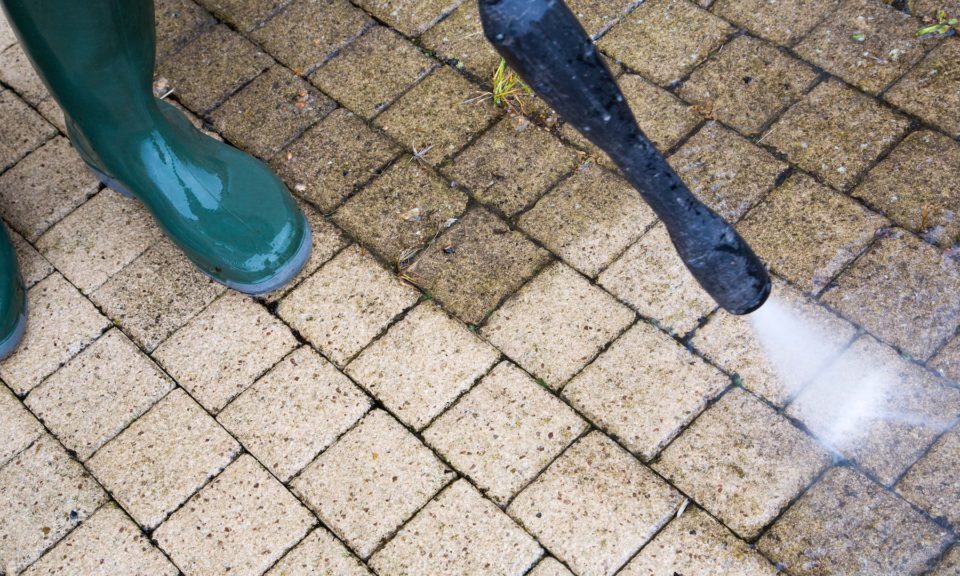
Step 2: Clean Those Stairs Like a Pro
After all the carpet is gone, it’s time to clean. Your stairs have probably seen a lot of action, especially if you have a bustling household. To make sure your paint sticks well, grab a bucket of warm water, an all-purpose cleaner, and a rag. Scrub every inch of the stairs—banish dust, dirt, and debris until the wood is spotless. Clean stairs are the foundation for a successful interior painting project.
Step 3: Sand and Prime—No Shortcuts Here!
Madison’s weather can leave your stairs a little worse for wear, especially if muddy shoes or damp boots have been a regular occurrence. Before painting, you’ll want to smooth everything out by sanding down any bumps or rough patches. If you notice any dents or nail holes, fill them in with wood filler and sand again to get that perfectly smooth surface.
Next comes the primer—and trust us, you don’t want to skip this part. Using a quality primer designed for high-traffic areas ensures that your paint will adhere well and last a long time. Plus, a good primer will help protect against wear and tear, which is essential for a frequently used area like your staircase.
Step 4: Pick Your Color and Start Painting!
Finally, the moment you’ve been waiting for—it’s time to paint! You’ll need two or three coats, depending on the original color of the wood and the new shade you’re applying. We suggest using durable, scuff-resistant paint that can hold up against the rigors of daily life. Here’s a tip: alternate painting every other step so that you can still use the stairs while the paint dries. No one wants to be stranded upstairs or downstairs for hours waiting on wet paint to dry!
Step 5: Add a Faux Runner for Some Style
If you’re looking for a fun way to make your stairs stand out, consider painting a “faux runner.” Essentially, it’s a stripe of color that runs down the middle of the stairs, creating the look of a carpet runner without the extra maintenance. Tape off where you want your runner to go, and choose a color that contrasts with your base color for a chic, eye-catching look. The faux runner is perfect for adding that ‘wow factor’ without breaking the bank.
Step 6: Protect Your Work with a Topcoat
Once you’ve finished painting, it’s crucial to apply a clear topcoat to protect your hard work. The winters in Madison can be unpredictable, and wet shoes can easily damage freshly painted stairs without a protective layer. A clear topcoat will add extra durability and keep your staircase looking pristine, no matter what your family (or the weather) throws at it.
Step 7: Maintain Your Masterpiece
Congratulations—you did it! Your staircase is now an eye-catching centerpiece that’s sure to impress anyone who visits. The next step? Keeping it looking great. A quick wipe-down once a week is all it takes to prevent dirt and debris from marring your new paint job. Here in Madison, where snow and slush are frequent visitors in the winter, this step is especially important to help your stairs keep their fresh, vibrant look.
Bonus Tips for a Successful Painting Project
Sample the Color First: Paint can look very different in your home compared to how it appears in the store. Test a small section to see how it looks with your lighting.
Use Quality Painter’s Tape: Clean lines make all the difference, especially if you’re painting a faux runner. Don’t skimp on the painter’s tape—high-quality tape means crisp edges and fewer touch-ups later.
Think Safety First: If you have children or pets who love to run up and down the stairs, consider adding a non-slip additive to your topcoat. This will ensure that your beautiful new stairs are also safe.
Take Your Time: There’s no rush! Working methodically and allowing proper drying time between coats will lead to a much better result and less stress for you.
Painting Your Staircase: The Results Are Worth It
Painting your staircase is a great way to freshen up your home for the upcoming holiday season. It’s one of those interior painting projects that provides a lot of visual impact without a huge investment. Plus, with Madison’s colder months keeping us indoors, why not spend that time giving your space a fresh new vibe? A beautifully painted staircase not only elevates your home’s appearance but also gives you a major sense of accomplishment. If you’re ready to get started but could use a helping hand, J. Canabe Painting in Madison, NJ, is here for you. We love helping homeowners take on interior painting projects that make their houses shine. Give us a call today, and let’s chat about how we can help you bring your vision to life!