
Great Ways to Brighten a Dark Room for the New Year
December 1, 2025
12 Paint Color Trends That Will Be Big in 2026
February 3, 2026
There’s a certain point every year in Madison when people start looking at their walls a little differently. It might be late winter when the house feels extra closed in. Or early spring, when the light shifts and suddenly every scuff mark shows up like it’s auditioning for attention. The funny thing is, most folks don’t plan to notice their walls. It just sort of happens.
That’s usually when interior painting enters the conversation.
Before paint samples get taped up and everyone has an opinion on shades of white, there’s a step that quietly decides how good the final result will feel months from now. Prep work. It’s not exciting, but it’s the part that keeps painted walls from looking tired way too soon.
Homes around Madison, especially older ones with character and history, tend to reveal more once you slow down and really look. So let’s talk about how to prep your house for interior painting in a way that makes sense for New Jersey weather, real life schedules, and normal human patience levels.
Clearing the Room Is More Than Shifting Furniture
Most homeowners start by sliding the couch a foot to the left and calling it good. That’s understandable. It just rarely works out.
Paint travels. Dust floats. Gravity does its thing.
A better approach:
- Pull furniture toward the center of the room or move it out completely
- Remove artwork, mirrors, shelves, and wall décor
- Take down curtains and blinds so fabric doesn’t collect dust or paint mist
- Cover what stays with canvas drop cloths that actually stay put
Madison homes tend to stay buttoned up during colder months, which means dust hangs around longer than expected. Giving yourself space makes the whole process calmer.
Take Off the Small Stuff That Gets in the Way
Painting around switch plates and outlet covers almost always looks like what it is, painting around something. Removing them takes a few minutes and makes the finished walls look cleaner and more intentional.
Light fixtures don’t need full removal in most cases. Loosen them slightly, pull them away from the wall, and protect them so paint doesn’t creep where it shouldn’t. Same idea with vents and wall-mounted hardware.
This step saves a lot of touch-up later.
Walk the Room Slowly and Let the Walls Show You Things
Once the room is cleared, little details start popping up. Small dents from furniture bumps. Nail holes from artwork you forgot about. Old repairs that were fine until light hit them just right.
In Madison, many homes have been updated over time, sometimes more than once. That means layered paint, patched drywall, and occasional surprises.
Look for:
- Nail pops
- Hairline cracks near doors and windows
- Peeling paint or bubbling from older moisture issues
- Uneven textures where past repairs didn’t blend fully
None of this is unusual. It’s just part of lived-in spaces.
Fix the Imperfections Before Paint Makes Them Obvious
Fresh paint is honest. It shows everything underneath it.
Before painting:
- Reset popped nails and cover them with compound
- Fill small holes with spackle
- Use proper patch kits for larger holes
- Scrape loose paint before repairing cracks
Let repairs dry fully. New Jersey humidity can slow drying at certain times of year, especially in basements or older homes with limited airflow. Rushing this step almost always shows later.
Light Sanding Makes a Big Difference
You don’t need to sand entire walls. Focus on repaired areas and rough spots.
Light sanding helps:
- Smooth patch edges
- Blend repairs into surrounding wall texture
- Remove minor bumps and ridges
Wipe down dust afterward. Dust left behind can keep paint from bonding evenly, which leads to uneven sheen once everything dries.
Clean the Walls Even If They Don’t Look Dirty
Walls collect more than we realize. Cooking residue, fingerprints, pet hair, smoke from fireplaces, and general dust all settle quietly over time.
A simple wipe-down with warm water and mild soap is usually enough. You’re not scrubbing aggressively, just removing the layer that paint doesn’t want to stick to.
In homes that stay closed during colder months, this step really helps paint behave better.
Prime the Spots That Need It
Primer isn’t always needed everywhere, but repaired areas almost always benefit from it.
Primer helps:
- Seal patched areas
- Prevent flashing through finish paint
- Create even absorption across the surface
Interior painters rely on primer for consistency, not because it’s fancy, but because it prevents headaches once the paint dries.
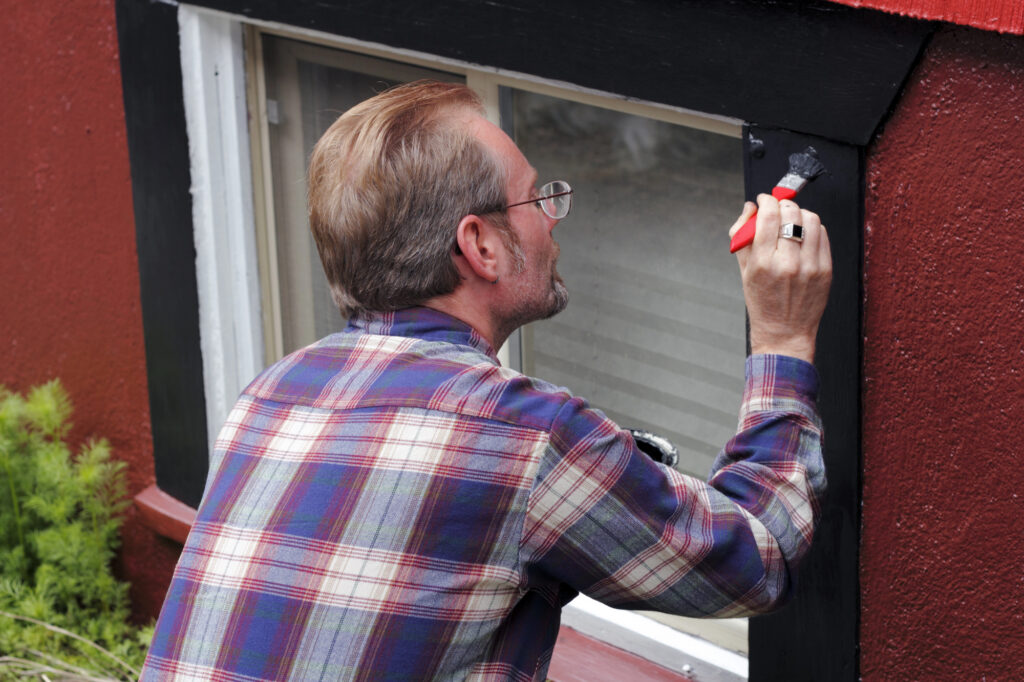
Tape Slowly and Press the Edges Down
Good taping takes patience. Press tape edges firmly so paint doesn’t bleed underneath. Tape baseboards, trim, window frames, and anywhere two surfaces meet.
If you’re working with multiple colors, lightly mark straight lines with a level before taping. It keeps things looking intentional instead of improvised.
Seasonal Timing Inside Madison Homes
Interior painting works year-round in New Jersey, but seasons still matter.
Colder months mean:
- Homes stay sealed longer
- Ventilation takes planning
- Paint odors linger if airflow is limited
Helpful tips:
- Use fans to move air without overheating rooms
- Crack windows briefly on mild days
- Add extra lighting during shorter winter days to catch imperfections early
Spring and fall often bring higher humidity, so drying times can vary. Keeping indoor conditions steady helps paint cure evenly.
Prep Mistakes People Regret Later
These come up a lot:
- Leaving furniture too close to walls
- Skipping tiny repairs
- Forgetting to clean walls
- Rushing drying time between steps
- Skipping primer on patches
None of these ruin a project outright, but they do chip away at how good the finished space feels.
Time, Budget, and Expectations
Prep work takes time. It’s also where durability comes from. Cutting corners here often means repainting sooner than planned.
Solid prep helps paint last longer, look smoother, and handle seasonal changes better, especially in older New Jersey homes.
Helpful Resources if You Want to Learn More
If you’d like to understand what’s typically included in a professional interior project, your interior painting services page is a good place to start.
For general home safety and improvement guidance, New Jersey offers helpful resources here.
When You’re Ready to Take the Next Step
Prepping your house for interior painting doesn’t have to feel overwhelming. It just takes a little patience and a realistic plan. If you’d rather hand it off to professionals who work in Madison and nearby communities every day, J. Canabe Painting is familiar with local homes, seasonal quirks, and the kind of prep that makes paint last. No pressure. Just a conversation when the timing feels right.